
Building customized video players
You can have any number of video players associated with your TwentyThree account that each can serve different purposes and use cases. When creating a video player for your account, often it's enough to select one of the built-in player designs—and then customize the wide range of player settings to make the player fit your needs.
But you may want your player to have a unique design or to have specific functionality that is not provided in the built-in players. If this is the case, you can build your own video player.
The player builder
As is the case with the rest of TwentyThree, the video players are built to be customized down to the last detail. That's why we have open sourced the code behind the players, and we have built a tool to modify this code to your liking: The Player Builder.
The Player Builder is a simple IDE with a file browser and a text editor. On top of this, it provides a way of previewing the customized player in a test environment before deploying it to production. When you first create your own player style, the Player Builder will simply clone the code of the latest version of one of the built-in player styles and present the files to you, ready to be edited.
Create a new player style
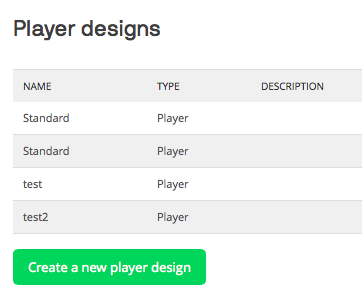
To create a new player style, log in to the backend of your video website and go to "Player Builder" → "Create a new video player". You will then be able to select between different player styles, both standard styles and custom player styles you've created before.
If you want to create a completely new player style, click the "Customize the player design"-button which will take you to a new page where you are asked to provide a name for the player style and to select one of the five built-in style to use as base design. You also have the option of uploading an image representing your new player style, making it easier to recognize when setting up new players with this style.
When you then click the "Create player design"-button, the code of the selected player will be cloned, and you will enter the Player Builder.
The file browser
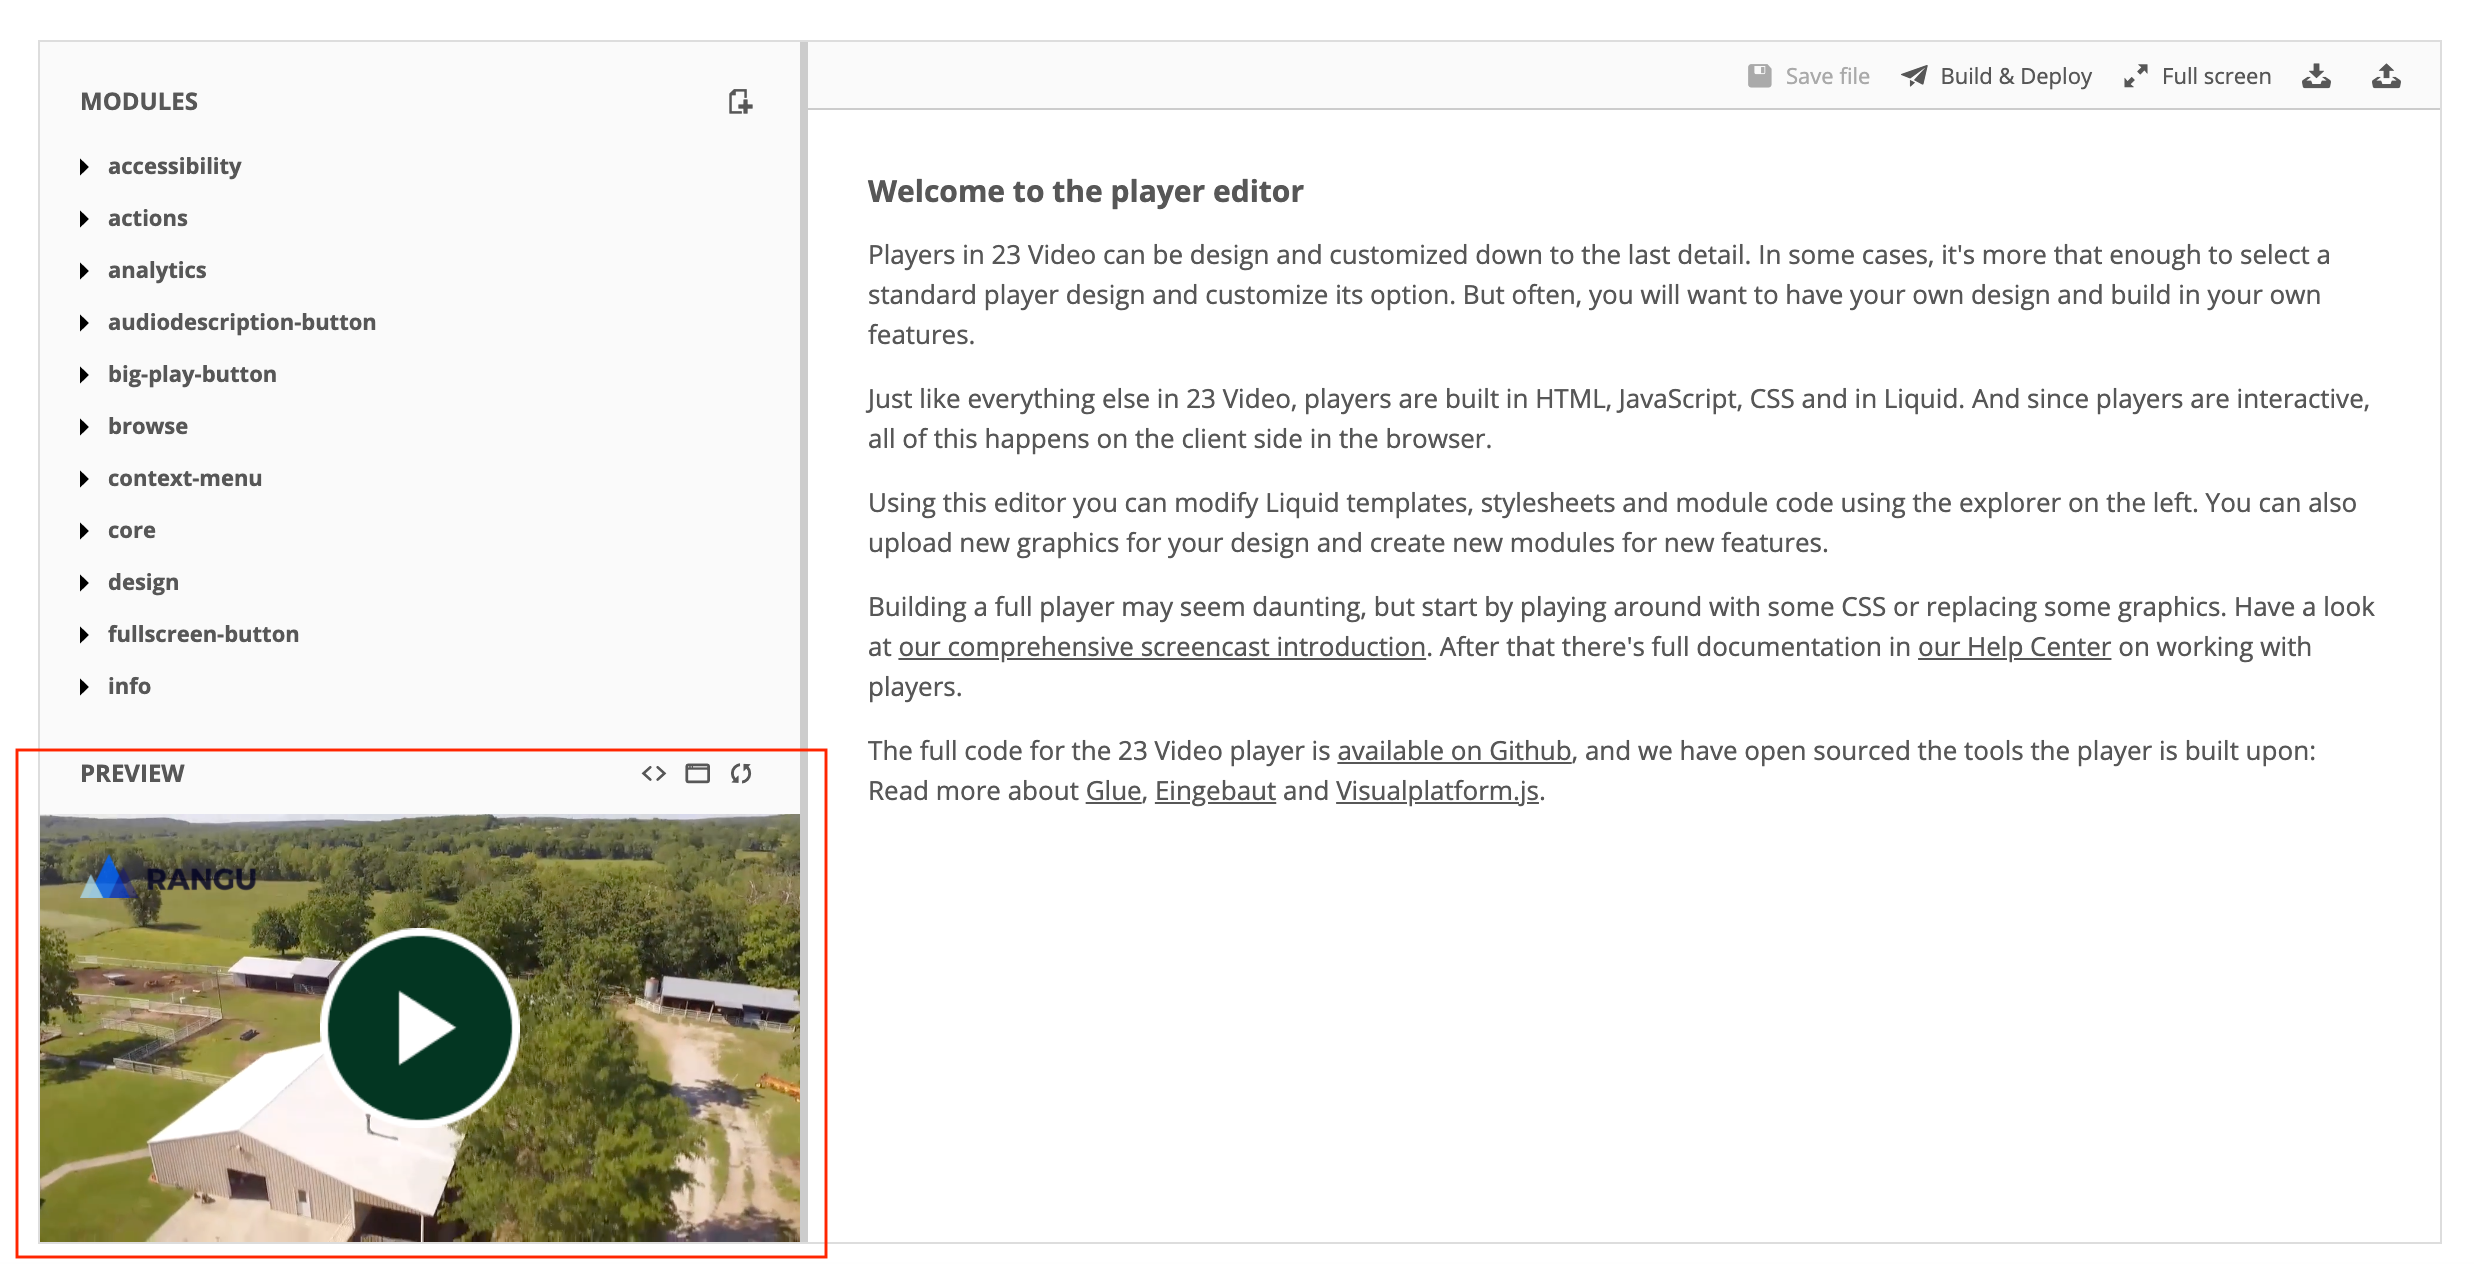
In the Player Builder, there are three key elements to take note of. The first one is the file browser. This is the list on the left, which highlights all the player's modules and their files. You can create new modules by clicking the "Add"-icon at the top, and you can add files to existing modules either by dragging and dropping a file on top of the module or by clicking the "plus"-icon of an open module.
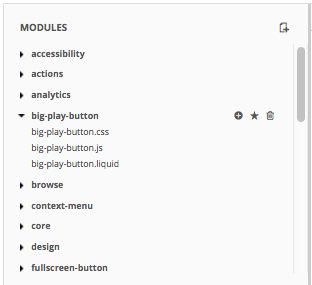
Clicking on a file in the file browser will open it in the text editor to the right.
The player preview
The player in the bottom left corner of the Player Builder is a preview of the player that you are currently modifying. Each time you save a file, you can click the refresh icon to reload the player with your changes (or use the Ctrl+R keyboard shortcut). If you prefer to have this preview running in a separate window, click the "Popup"-icon, which will open the player preview in a new window.
The text editor
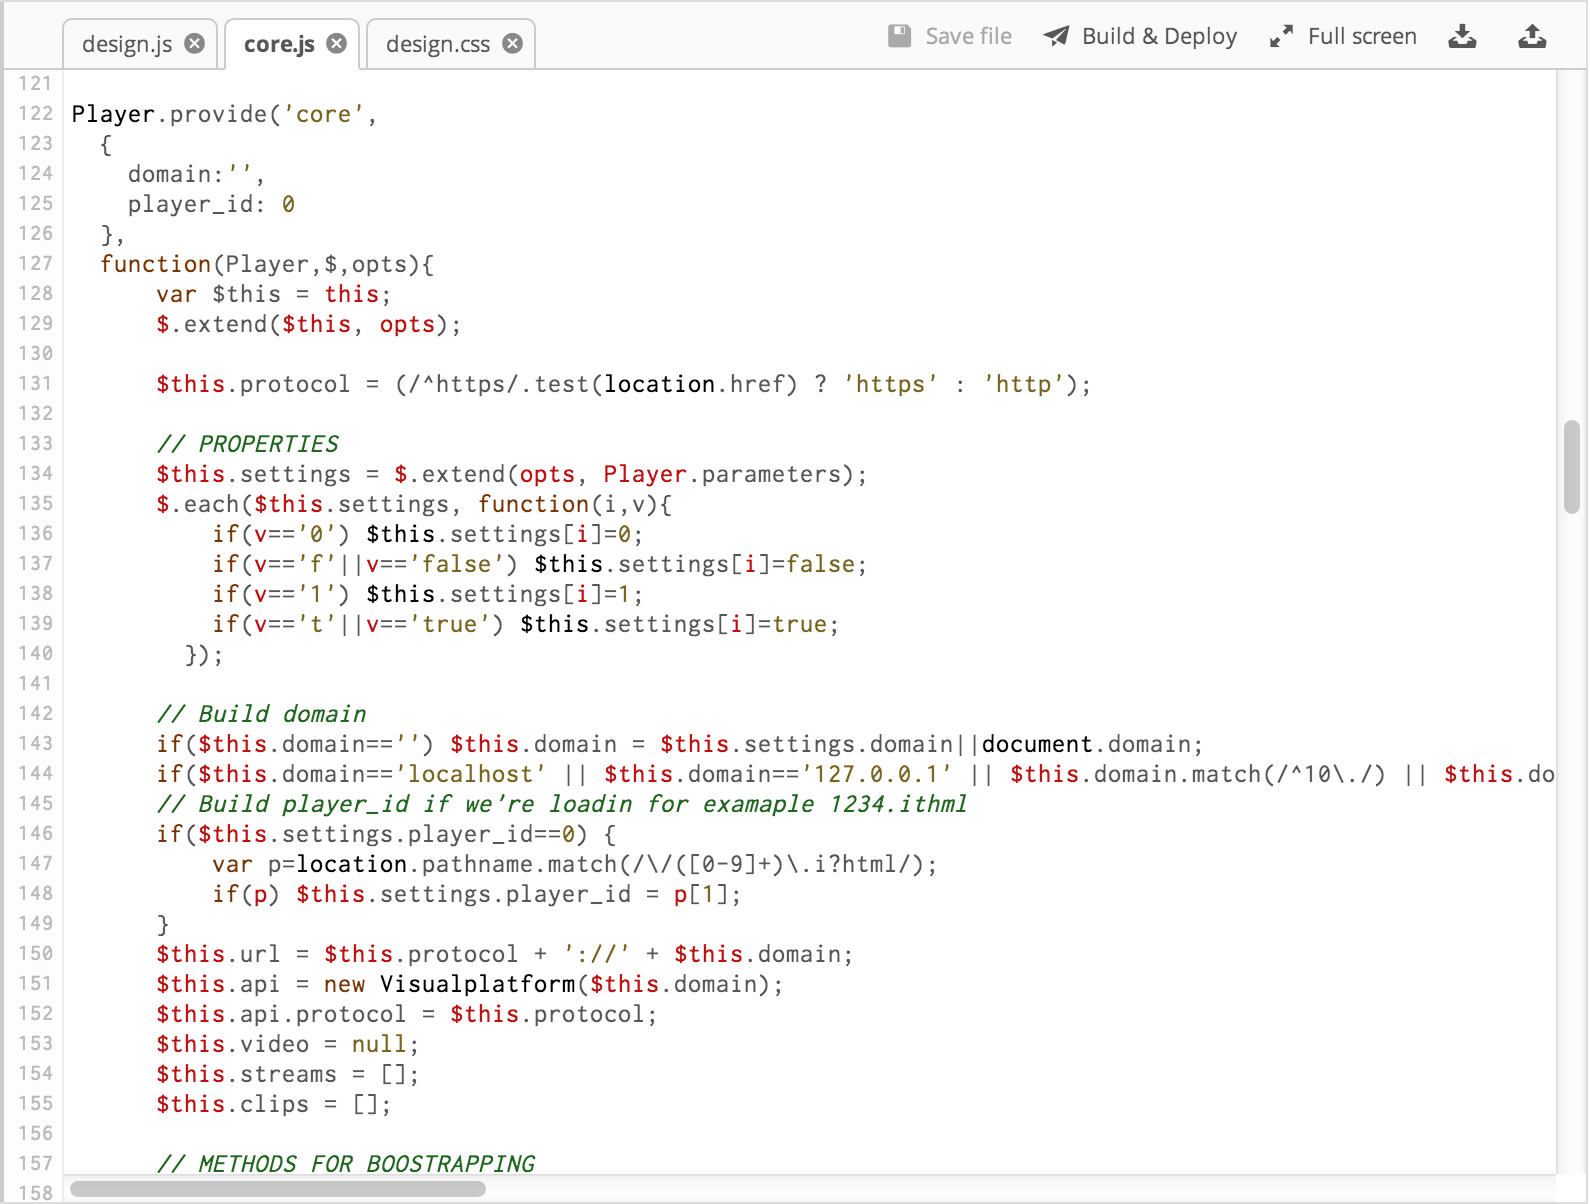
Without much fanfare, the text editor simply opens up files in tabs and lets you read and edit them. As with any text editor, remember to save your files, before closing your browser window.
In the top right corner of the text editor, you will find buttons for:
- saving the current file.
- building and deploying the player style to production (when you have finished editing).
- taking the Player Builder into fullscreen mode.
- downloading a backup of the current state of the player style.
- restoring the player style from a previously downloaded backup file.
How is the code structured?
Before you start modifying the code of your player style, you may want to take a look at how it works to begin with.
The player is a web application built on an event-based JavaScript application framework called Glue. With Glue, functionality is divided among a set of modules each capable of:
- listening to and firing events.
- registering getters and setters.
- interacting with other modules by calling getters and setters.
- rendering visual content through Liquid.
- styling content with CSS.
One module is designated the bootstrap module, which is responsible for providing the main Liquid template through which all other modules are loaded. This module will also contain the main CSS file of the application, though each module also can have their own stylesheet.
In the Player Builder, the design module is the bootstrap module, so if you open the design/design.liquid file, you will see the main HTML grid of the player. The rest of the modules are loaded using the {% player [...] %} liquid tag -- which in turn is replaced by the HTML that each module through their own Liquid-files may request rendered in the player. Similarly, the main CSS-file is called design/design.css and contains most of the CSS used for styling elements across modules.
Read the full documentation of Glue on GitHub to learn how to build and modify Glue applications.
Which part of the code should I modify?
When figuring out which part of the code to attack, consider whether you wish to modify style, markup or functionality.
Style
If you wish to change the visual styling of elements, you probably want to look in the main CSS-file (design/design.css), since this file contains most of the player's styling.
Remember though, that each module can have its own CSS-files, so use your favourite web inspector to inspect the player preview inside the Player Builder to figure out in which file an element's styling is defined (do not inspect a player used in production, since its script and style is minified and won't provide much information about source files).
When adding style to un-styled elements, you're free to either write CSS in the main CSS file or to create a new CSS file in the relevant module. As mentioned, it will all be nicely compressed into a single CSS file in any case.
Markup
For editing the markup used for displaying content in the player, look in the Liquid file associated with the module responsible for rendering the relevant part of the player.
For example, if you wish to change the markup used to display the social sharing overlay, simply open sharing/sharing.liquid and make your changes. On the other hand, if you want to change the location of where the Liquid template of a module is rendered, open design/design.liquid and move the relevant {% player [...] %} tag to where you wish to display the module.
Functionality
Most of the player's logic is written in JavaScript, so if you wish to modify the functionality or behaviour of a module, look in the relevant module's JavaScript file. Each module's script is encapsulated in its own context, so the only way of sharing data across modules is by providing getters and setters for the module's properties.
Providing a getter for a property has the added benefit of making that property available as a variable in your Liquid templates. This makes it really easy to define content in JavaScript and then displaying it with the right markup in the Liquid-file.
Getting help
We are really excited about our players, the player framework and the Player Builder, so we would love to help you get the most out the tools that we have created. So if you have any questions about the players, reach out to us on support@twentythree.net.