
Video fields
When video content has been uploaded TwentyThree, all metadata about the videos is available to you when designing the frontend of the site or fetching data through the API. Examples of data available to you include:
- A video's title and description
- The channel that a video belongs to
- The tags that a video has been given
- A video's upload date and publish date
Often these data points are enough to both categorize your video content and to design the visual presentation of all videos—but in some situations you may want to be able to specify your own fields or variables for each video. For example an extra field where you can specify a URL that a video is associated with, or maybe you want your videos to each have a toggle determining a specific behaviour in your video player.
This can be accomplished with Video fields which allow you to create extra pieces of information about each video.
Creating video fields
You can manage these custom variables by going to "Settings" → "Video fields". Here, you will see a list of your existing fields, if any, and you can create new ones by clicking the "Add a new field"-button.
When you add a new field, you are presented with a form allowing you to define the variable:
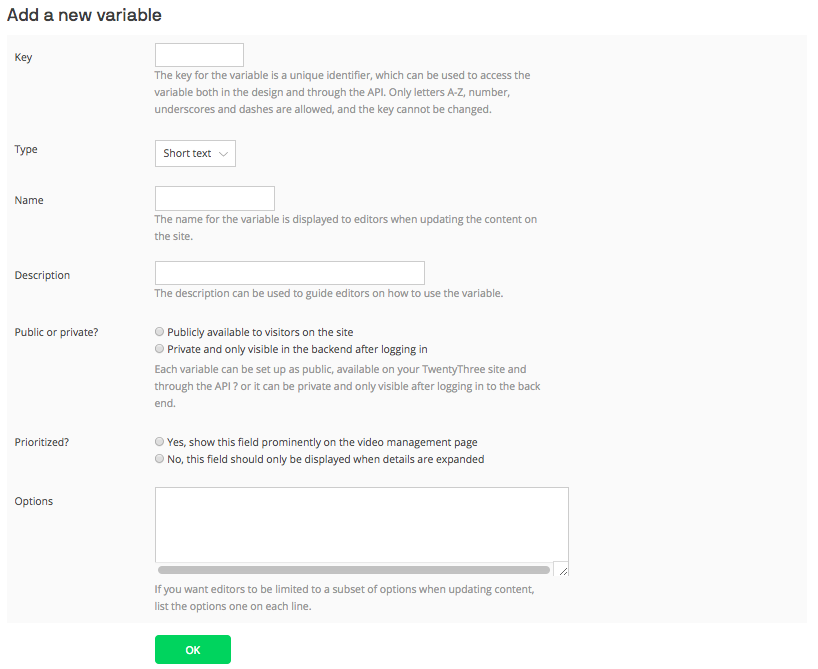
Key
The key of the field is a unique identifier for the variable and is used when referencing the variable in Liquid or through the API. Give your variable a short and descriptive key, to make it easy to use when writing code. To avoid making unintentional breaking changes, this key cannot be changed after the variable has been created.
Type
Here you specify the type of the field. Your choice affects both the values that are accepted for the variable and which kind of input field the user will see when changing the variables value.
- Short text: Accepts all string values and is typed into a regular input field
- Long text: Accepts all string values and is typed into a text area
- Integer: Accepts only integers and is typed into a regular input field
- Number: Accepts both integers and floating point numbers and is typed into a regular input field
- Boolean: Accepts "true" and "false", selected with radio buttons
Name and description
Give your variable a name and description that help explain what the variable is used for.
Public or private?
Select whether the variable should be available in layout blocks and through the API or if it should only be visible in the backend after logging in. The latter can be useful to mark a video as "work in progress" or to specify the name of the person responsible for the video.
Options
If you wish to limit the possible values accepted for the variable, you can manually specify the allowed values in this text area. Write each option on a line for itself. If you do not specify any options, the user will be able to input any value accepted by the variable's type.
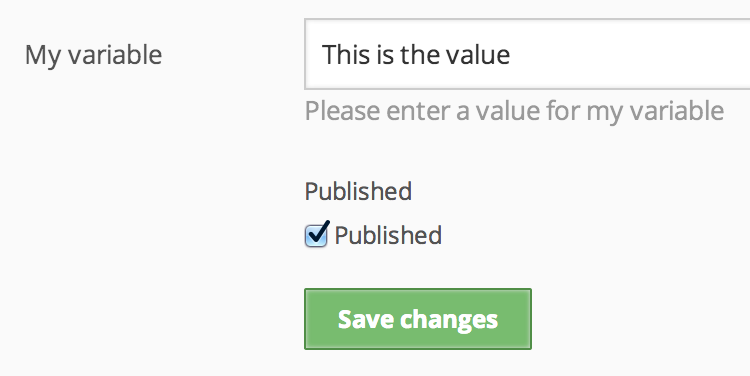
Using a custom variable
When you have set up your custom variable, it will be visible when editing the metadata for a video.
The variable can now be referenced in Liquid:
The video fields will also be available through the API, like in this example response:
<response status="ok" permission_level="anonymous" p="1" size="20" total_count="1">
    <photo photo_id="12345" title="Video title" [...] myvariable="This is the value">
        <content>Video title</content>
        <content_text>Video description</content_text>
        [...]
        <tags>tag1, tag2, tag3</tags>
    </photo>
</response>
You can also use video fields to when querying the API using the custom_variable_mode parameter.