Prepare your webinar draft and invite speakers
Your webinar registration page looks much better with a great image, a description of the event and information on the speakers. Below we show you how to add these things.
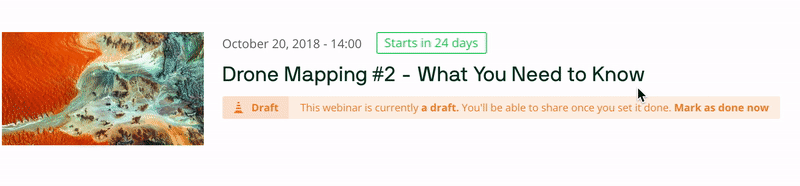
Hero image
Start by adding an engaging hero image that illustrates what the webinar is about. This picture will appear in the preview when you share the link to your webinar. The hero image will also display in the waiting room fifteen minutes before the webinar starts.
You can always edit and remove the hero image at a later stage.
Name
You can adjust the name of the webinar too. This will also change the public URL to the event. The previous URL will of course continue to work.
Date, Time, Speakers, and Description
In this section you can edit the date and time of the webinar, invite and manage speakers, as well as add and edit the description.
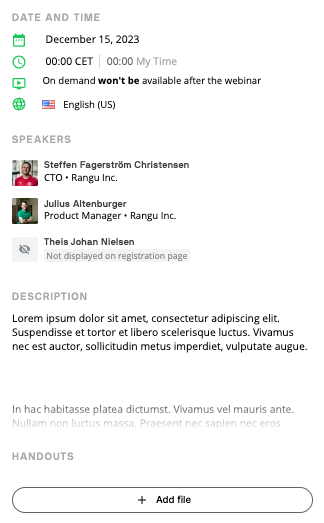
Speakers
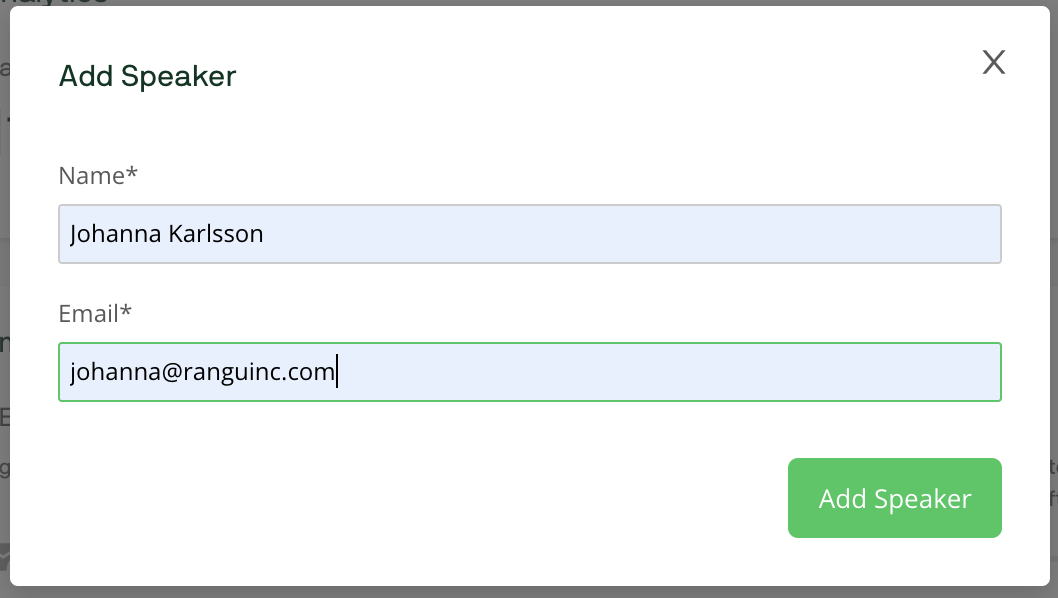
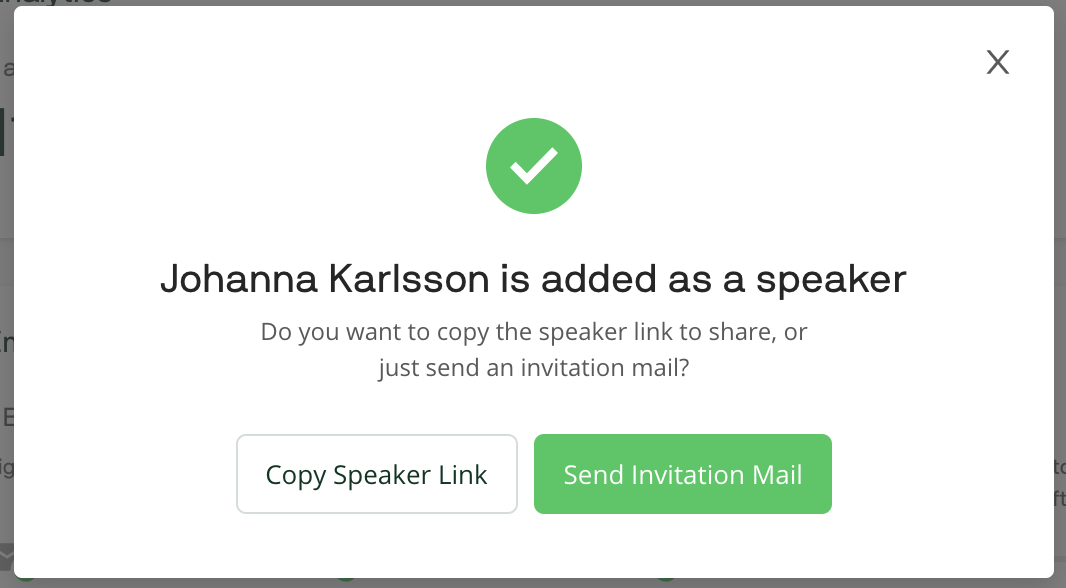
Add speakers to the event with their name and email address. You can choose if they should receive an invitation or not. There can be a maximum of 6 speakers in each webinar, including the webinar host.
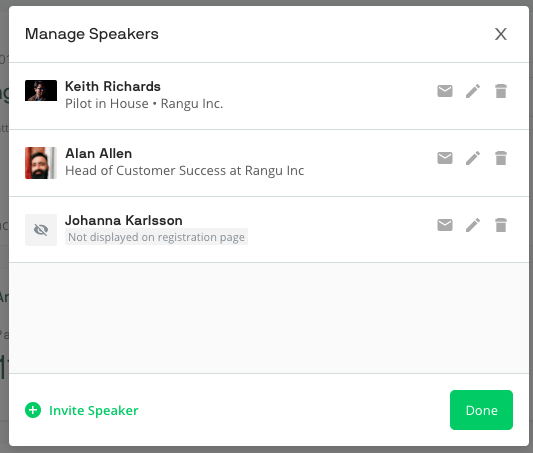
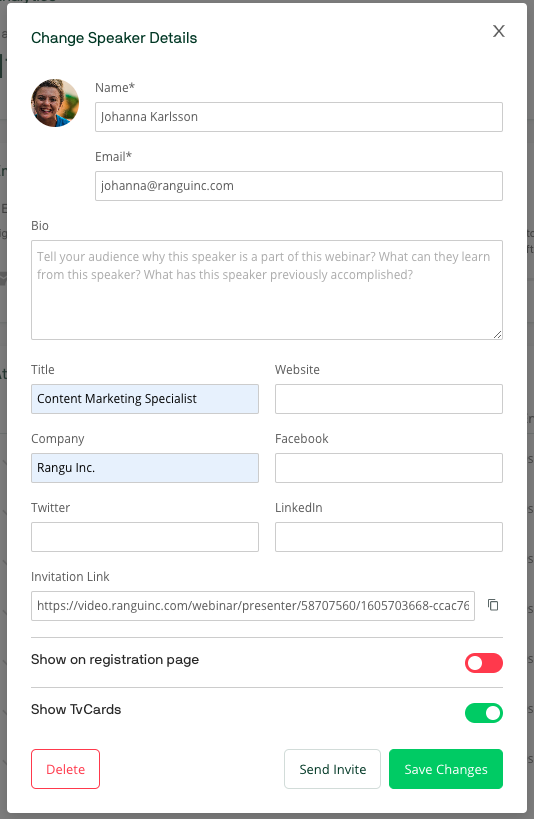
Once you have added all speakers you can change their details. Add a bio, title, website and company name, and link to their social media profiles. You can also control whether the speaker should be shown on the registration page and on speaker TvCards or if these should be hidden.
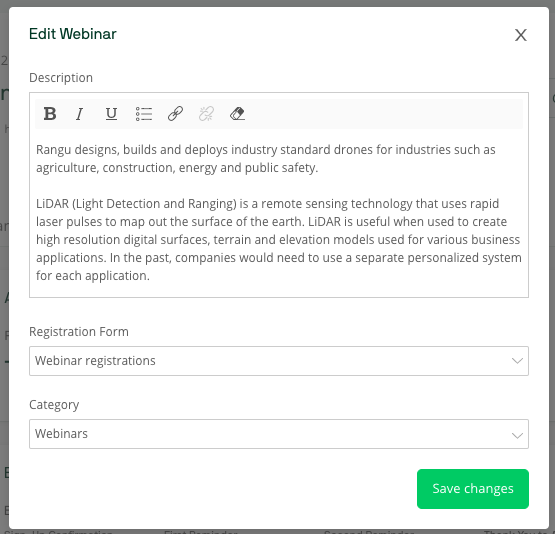
Description
What will your webinar be about? Add a description in which you provide some background information on the topic or raise important questions that you will address during the webinar. You could also summarize in a few bullet points what attendees will learn during the event.