How to customize webinar pages
Now that you know how to get started with webinars, you can go ahead and customize both the registration page and the actual webinar room.
Customize registration page
The registration page is where visitors can learn more about the webinar and sign up if they wish to attend. Simply click on the "Customize Experience" button in the header section of the webinar overview page to customize. You can adjust the settings by clicking on the small arrow in the top right corner.
Content Tab
Webinar name, description, WebinarTrailer and hero image
In the content tab, you can adjust the name, description, and add a WebinarTrailer and hero image to your registration page, similar to the webinar overview screen. This time, however, you can see the changes you make in real-time.
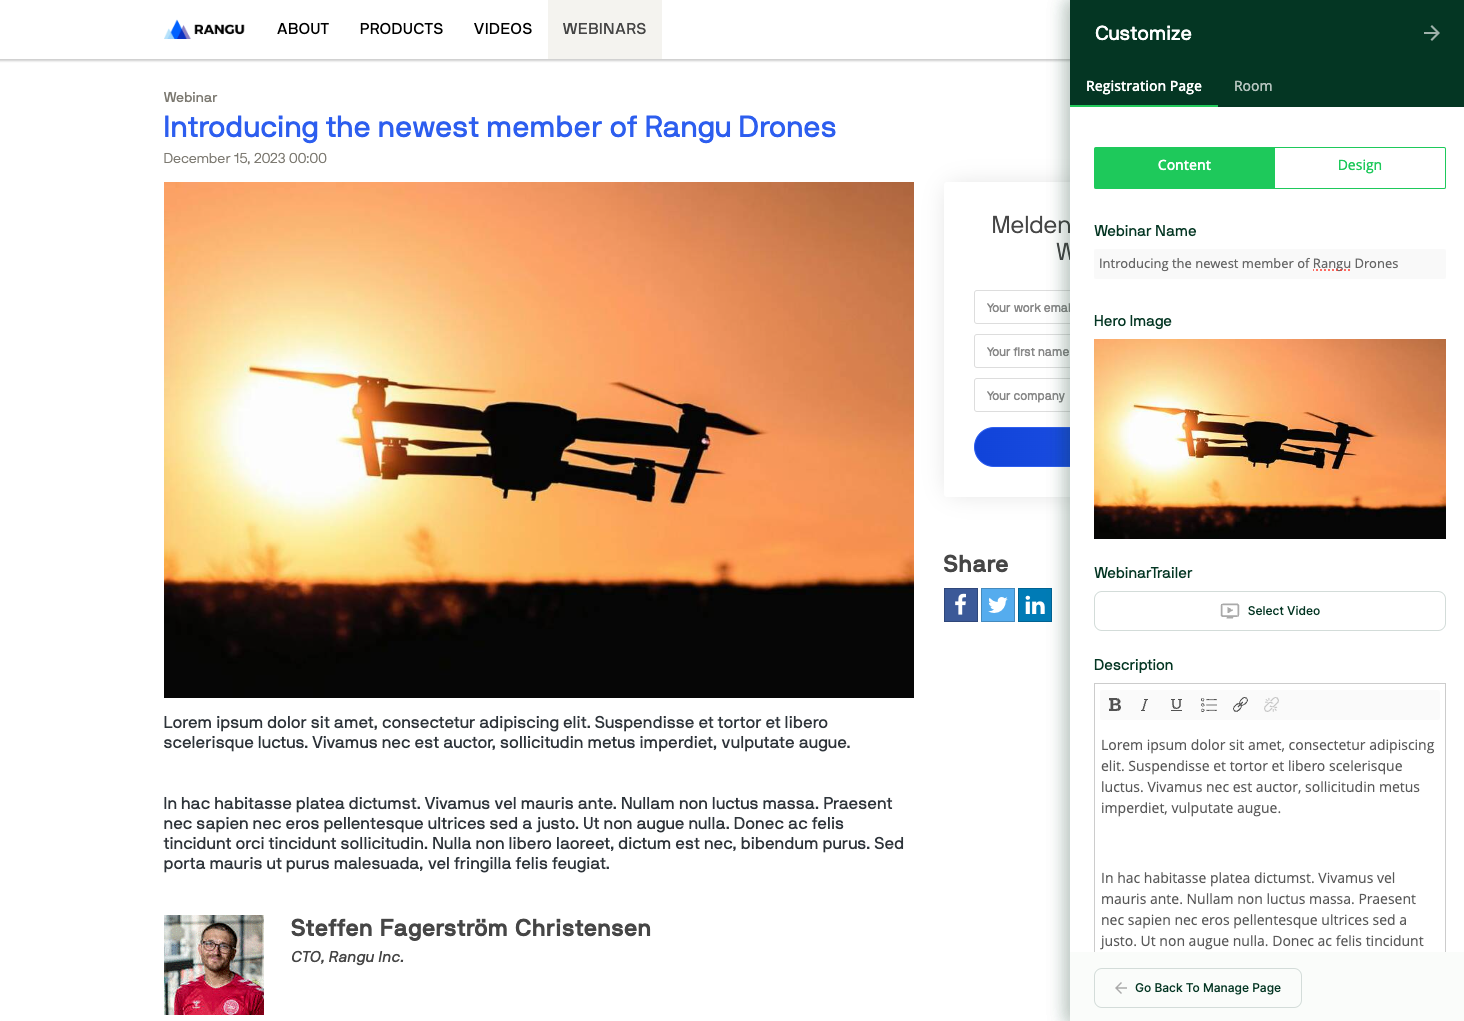
Make sure to choose an engaging hero image that illustrates what the webinar is about. Add a description with some background information on the topic. It's also a good idea to summarize what the attendee will learn during the event. Feel free to also add some sort of introductory video as a trailer for visitors ahead of the webinar.
Below these information points, you can select which registration form or collector you want to use, and also see, edit, and add speakers.
Design
In the design tab, you can add logos, fonts, and colors to ensure they match your brand. Only admins have the ability to make changes in the design tab, and please note that these changes will impact your entire webinar hub.
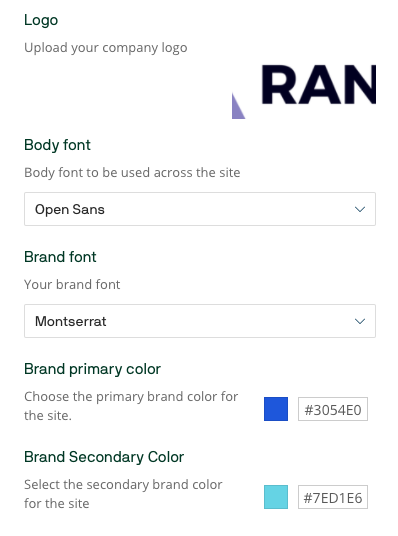
Logo, fonts and colors
Upload your logo for the navigation bar of your webinar. Choose a font that aligns with your brand, and select a body font to be displayed across the site. Additionally, make sure to choose your primary and secondary brand colors to match the overall identity of your organization.